Yep, this is who {or should I say what} has stolen my heart.
Seriously, why did I not buy this stuff earlier. Oh, yeah...the price tag. But I can honestly say that it was worth every. single. penny. It goes on like nothing I can explain. If you love distressed, shabby chic, time-worn and French style then this stuff is for you. It will make your heart sing...seriously. Chorus of Angels stuff over here.
I have already but together a little sign project / tutorial to share.
Do you have a Hobby Lobby near you? I love Hobby Lobby...especially when they have their 90% off clearance sale. That is where I scored two of these:
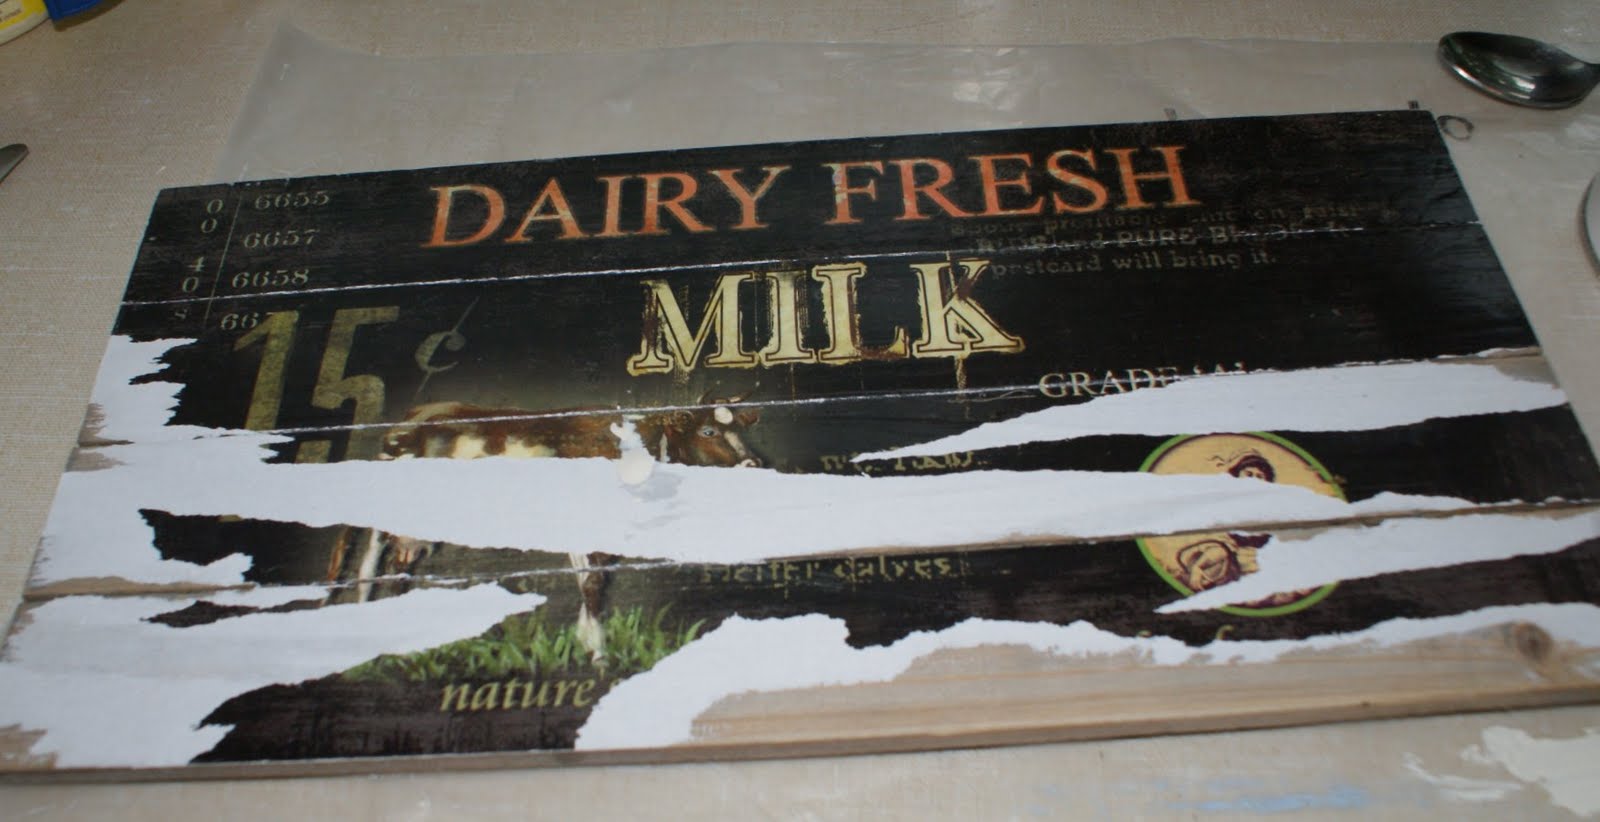 |
| front |
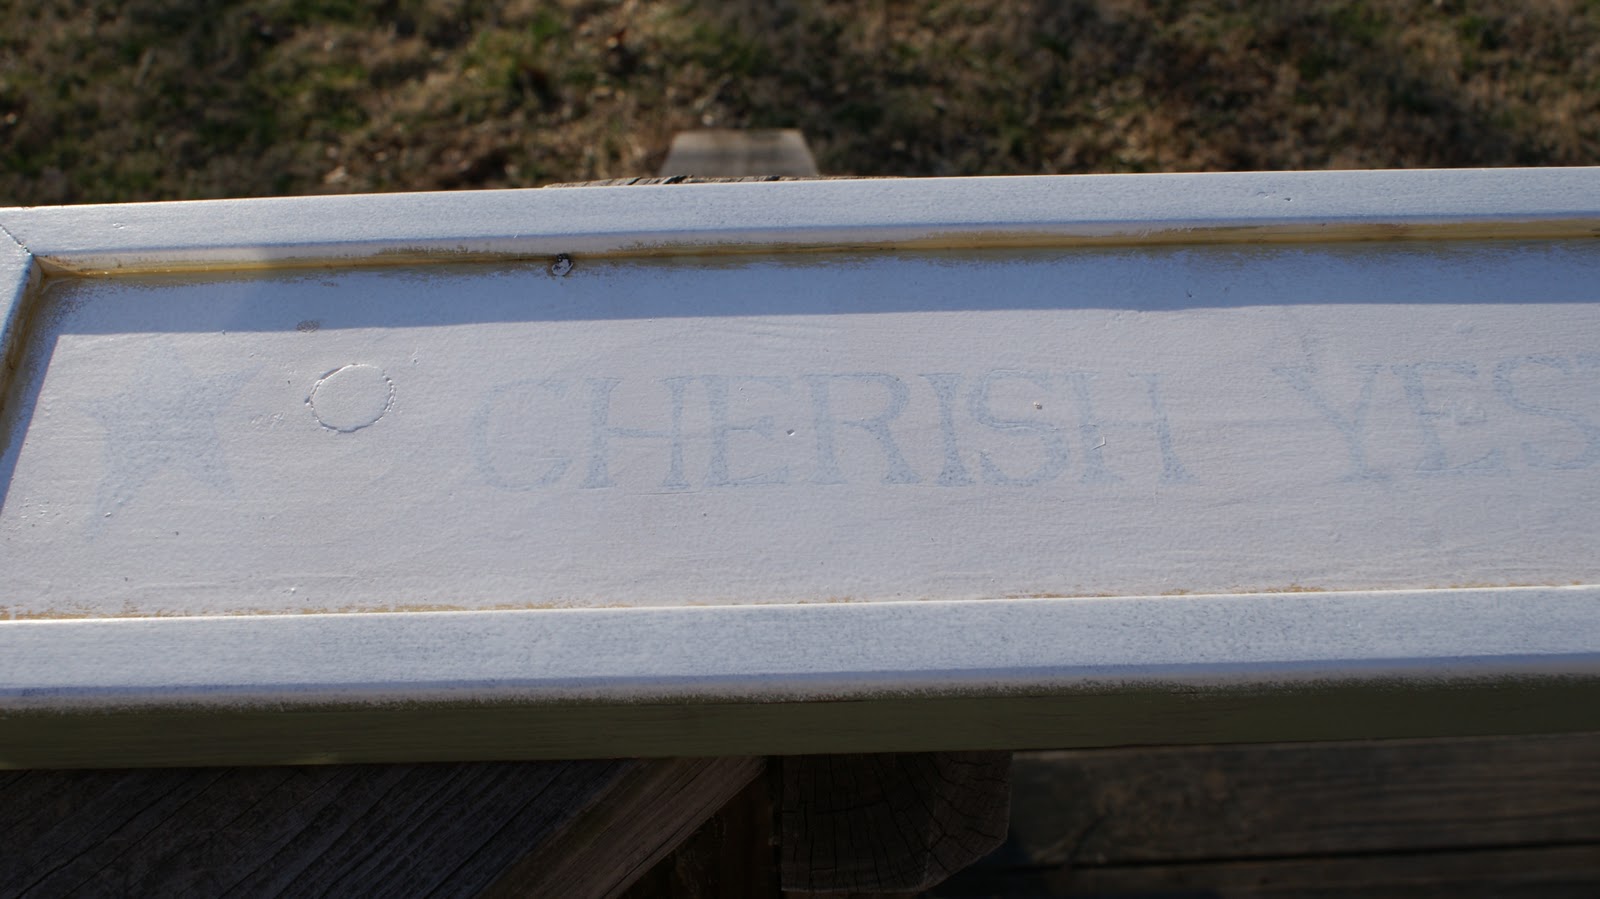
 |
| back |
I knew I could transform these signs into something a little more Mudpies and Marigolds style. And with the help of Annie Sloan's Chalk Paint I did just that. I made one to keep and one to sell. I think you could easily do this with cut down paint sticks from the hardware store as well!
These signs had a 90s ish farmhouse image glued to the front. I ripped up any loose pieces of the image and then got to work. I shook the paints really well. I worked with 2 paint colors: Old White and Louis Blue. LOVE, LOVE, LOVE!
I tried 2 different paint techniques so I could see how they look. On the first sign I put both white and blue paint on at the same time {using more of the Louis Blue} and just barely blended them in. This paint applies like butter. It's so smooth and I think I've never painted something with so much ease and so quickly. And it used hardly any of the paint up!

I let it dry completely then used a medium grit sanding block to distress. This stuff distresses so easily and beautifully! Really...no elbow grease required.
After that I used my CitraSolv technique to apply the Nest image. Just make sure to apply the CitraSolv lightly so it doesn't bleed.


That's it. Doesn't it look like it's been hanging around is some French farmhouse for years. I adore time worn style and baby, this stuff delivers just that!

On the second one I applied a layer of Old white and let it dry, then applies a layer of Louis Blue and let it dry and then another super light and sloppy layer of Old White. I didn't distress it at all. I just left it with it's gorgeous layer look.


You can be sure that I will have many more Chalk Paint projects coming up!
If you live in the Midwest and want to give chalk paint a try {trust me you do!} then I highly recommend ordering from Michelle at Di Lucca Designs. She is a Annie Sloan Paint Chalk Stockist located in Bensenville, IL. She is super sweet and will take good care of you.